Your Minecraft server is ready. With these steps you switch it on and join as the first player. After that you read what is handy to sort out straight away.
1. Log in
As soon as your order has been processed, your server is in the game panel. Log in with Login with your billing account: the same email address and password as in our client area. You read more about this in Log in to the game panel.
You now see your server in the list. Click Manage server to open it.
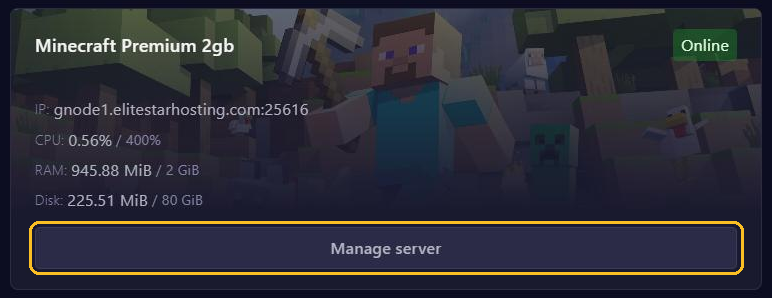
2. Choose your server type and version
Want to use plugins, such as ranks or protection against griefing? Then Paper is the best choice. For mods you pick Fabric or NeoForge. You set the server type and the Minecraft version under Versions, see Change your Minecraft version or server type. Not sure? Then read Which server type should you choose?
Preferably sort this out now, before you start building. Switching later is possible too, but then you need to pay more attention.
3. Accept the EULA and start
- Click Start at the top of the server page.
- The first time, the panel asks whether you agree to the Minecraft EULA, Mojang's terms of use. Click I Accept.
- Wait until it says Online next to your server's name. The console then shows a line with
Done.
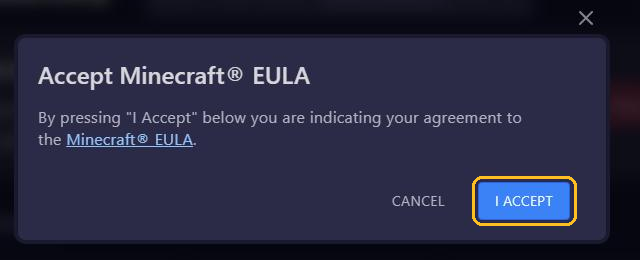
The first start takes a little longer, because your server creates a new world then.
4. Join your server
At the top of the server page you see the address with the port, such as gnode1.elitestarhosting.com:25616. Copy the full address, so including the port.
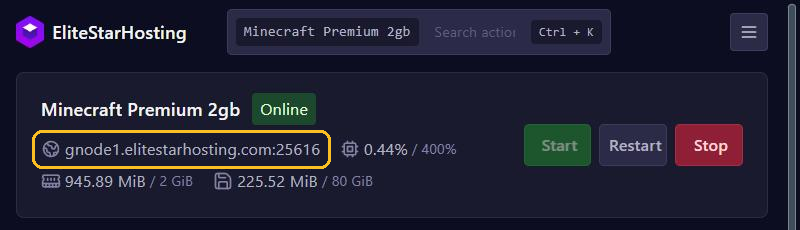
Open Minecraft Java Edition on the same version as your server. Click Multiplayer and then Add Server, paste the address and click Done. Not working? Then see Join your Minecraft server and fix connection errors.
5. Handy to sort out straight away
- Make yourself an operator: type
op YourNamein the console. See Operators, whitelist and bans, where you also read how to turn on the whitelist for a friends-only server. - Make a backup: create a first backup and have one made automatically with Schedules.
- An easy address: create a free subdomain, such as
survival.eshplay.com. Then your friends don't have to remember a port. - Plugins or mods: install them through Plugins or Mods, see Install plugins.
Stuck somewhere? We're happy to help through support.